***Today’s post is another guest post, done by Brennan Bahr, our very skilled Marketing Intern. He’s an avid coffee drinker and is sharing his quick and painless process to creating the perfect cold brew from home. Bottoms up!***
Being a college student, I run on coffee. Three to four cups a day is my average, with some slight variation whenever a paper deadline approaches or with the arrival of the dreaded finals season. During the school year, coffee is my fuel to get me through classes, clubs, and work.
Now that it’s summer, my life as well as my coffee drinking, has become much more leisurely. There is nothing quite like rolling out of bed on a lazy Sunday and enjoying a nice cup of coffee on your porch or back patio. And, now that it’s summer, it is time for chillier alternative to a usually piping hot favorite— cue cold brew coffee, a drink that’s good for your taste buds, wallet, and the environment. Today I will be walking through the steps to make an easy, incredible cup of cold brew that is sure to give you a little extra push to start your day.
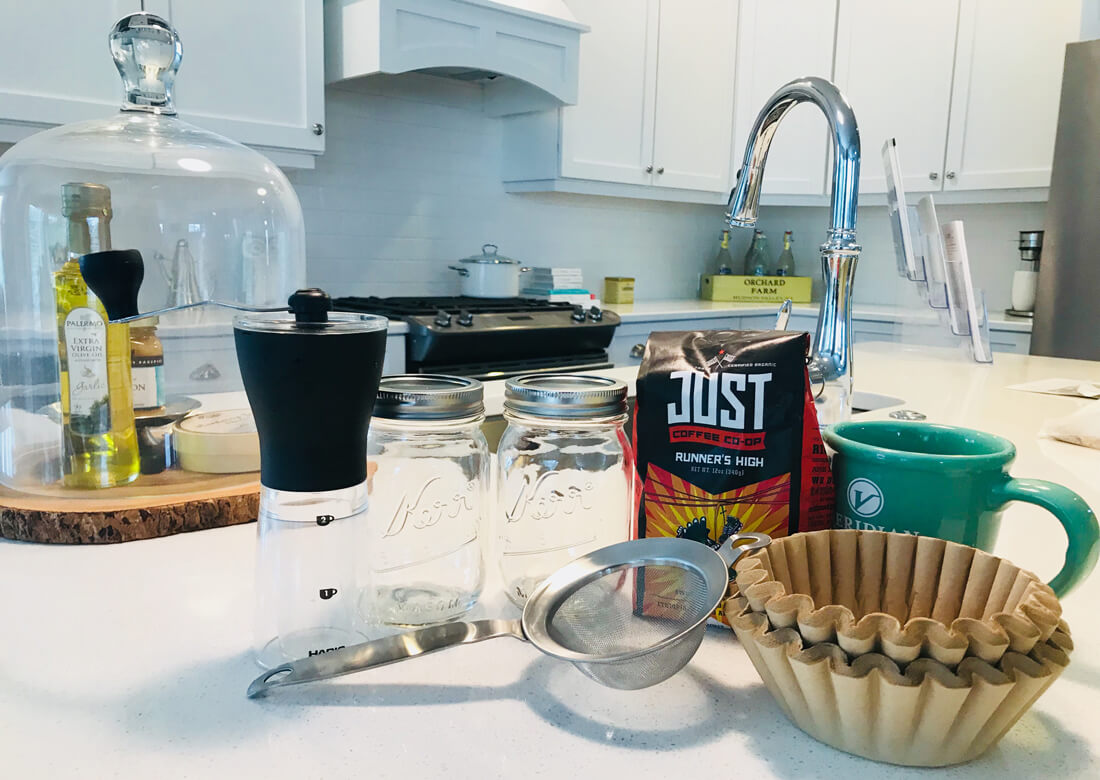
What you will need:
- Locally Roasted Coffee Beans (I recommend buying these from a local coffee shop who roast their own beans. Some of my favorites are Collectivo, Ancora Coffee Roasters, and Burman Coffee)
- Mason jar (2)
- Cheesecloth or Coffee Filter
- Wire Strainer
- Coffee Bean grinder (optional)
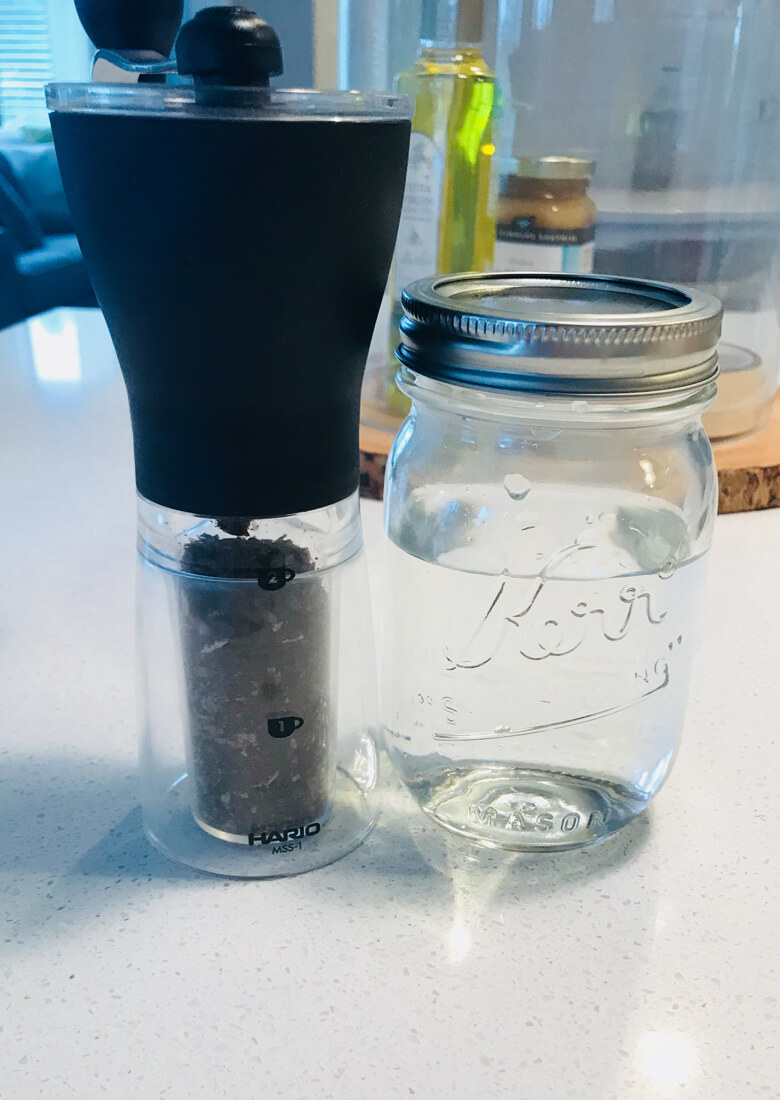
Step One: Place one cup of coarsely ground coffee beans into your mason jar. You can either grind them yourself for maximum freshness, or ask them to be ground ahead of time at whatever coffee shop you buy your beans from. Next, add one cup of ground beans and two cups of water to a mason jar and give it a good shake.

Step Two: Set it and forget it. Leave your mixture to sit for 8-12 hours depending on how strong you want your concentrate to be (you can play around and experiment with this). I will usually let it steep overnight and continue the process in the morning.
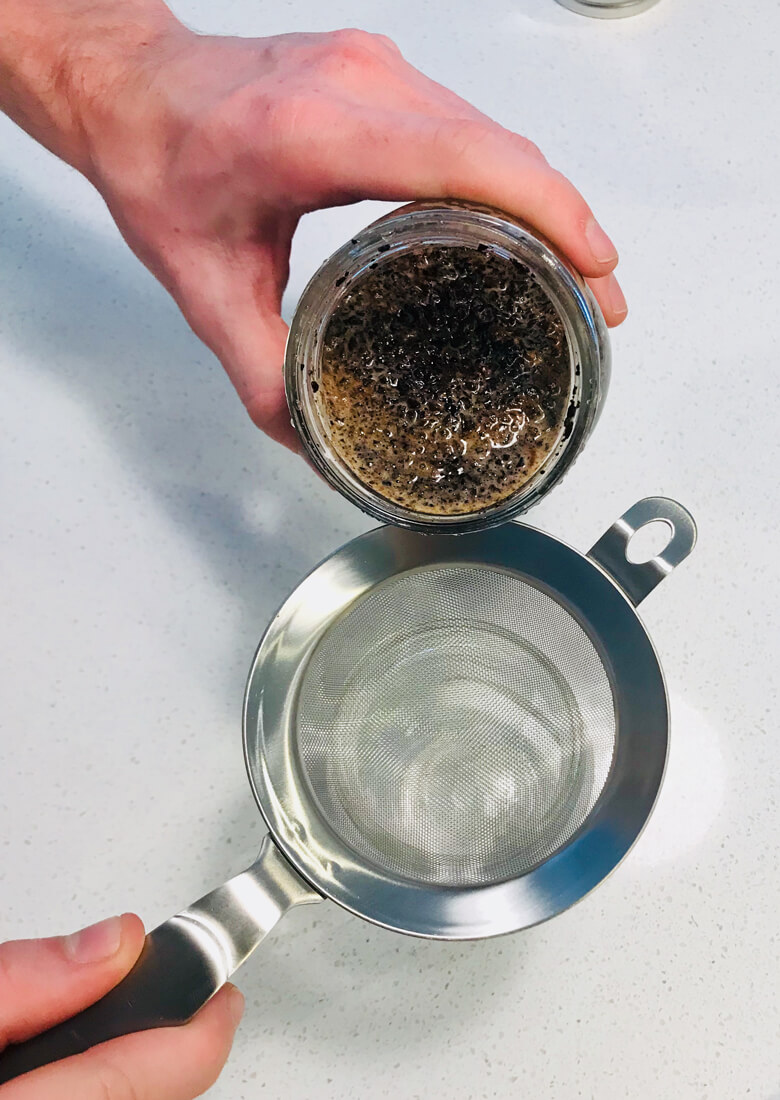
Step Three: Time to strain your mixture. Start by first straining your mixture with the wire strainer, then with the cheesecloth or coffee filter. Trust me, this double-strain technique helps save both your time and sanity. Alternatively, if you have a French press, you can also use it to separate grounds.
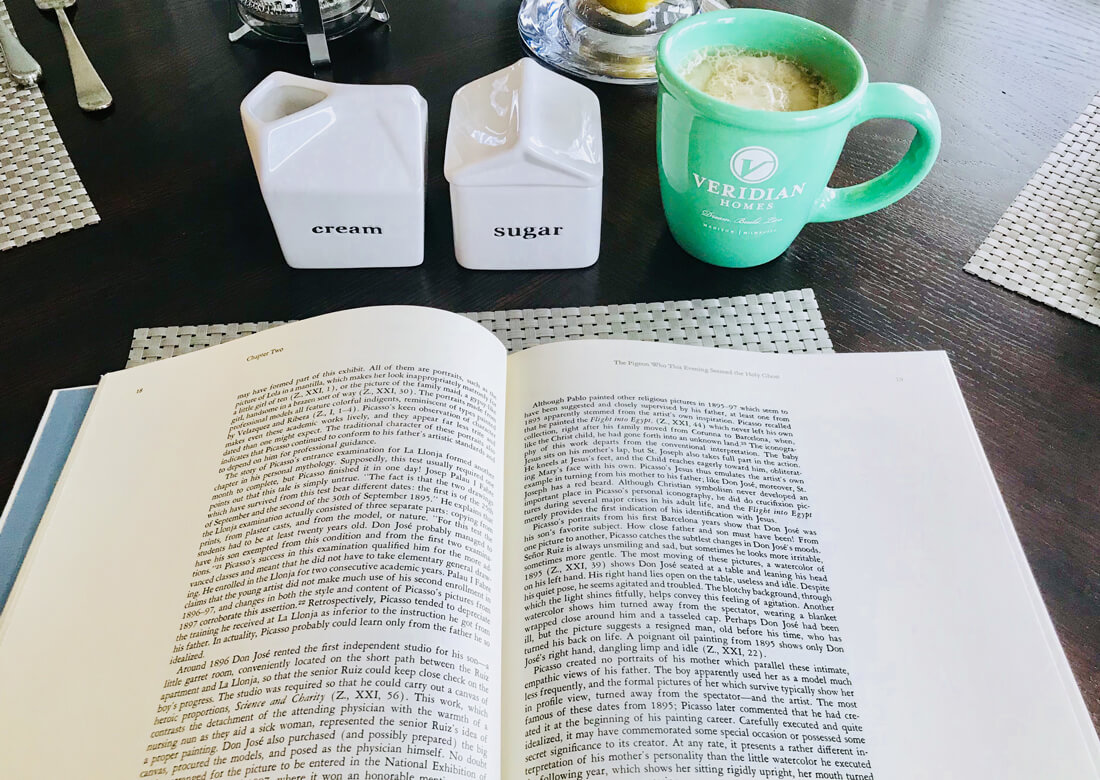
Step Four: Pour yourself a cup! This is a concentrate, so make sure to water it down a bit by adding ice, milk, or even Irish cream. Your concentrate should be good for up to a week, so feel free to make a bulk batch for your busy weekday mornings.
Cold brew is also perfect for hosting brunches! Just add a few cups of concentrate to a pitcher with some ice, it’s a drink that is sure to keep your guests cool and caffeinated. Best of luck in your at home coffee brewing adventures!
